How to Fix a Hole in Drywall: Step-by-Step Guide for Homeowners
Small and medium drywall holes are one of the most common issues in U.S. homes. Whether caused by a door handle, furniture impact, or a previous repair, fixing a hole in drywall is a straightforward DIY task if you follow the correct process. This guide explains exactly how to repair drywall and get a smooth, paint-ready finish.
What You’ll Need
- Drywall patch (mesh or metal)
- Joint compound (all-purpose or lightweight)
- Putty knife (6″ and 10–12″)
- Sandpaper (120–220 grit)
- Utility knife
- Primer and paint
Step 1: Prepare the Area
Remove any loose drywall or debris around the hole. Use a utility knife to clean the edges and create a solid surface for the patch. Wipe off dust to improve adhesion.
Step 2: Apply the Patch
Place a self-adhesive mesh patch over the hole. For larger holes (over 4–5 inches), you may need a drywall backing support before applying the patch.
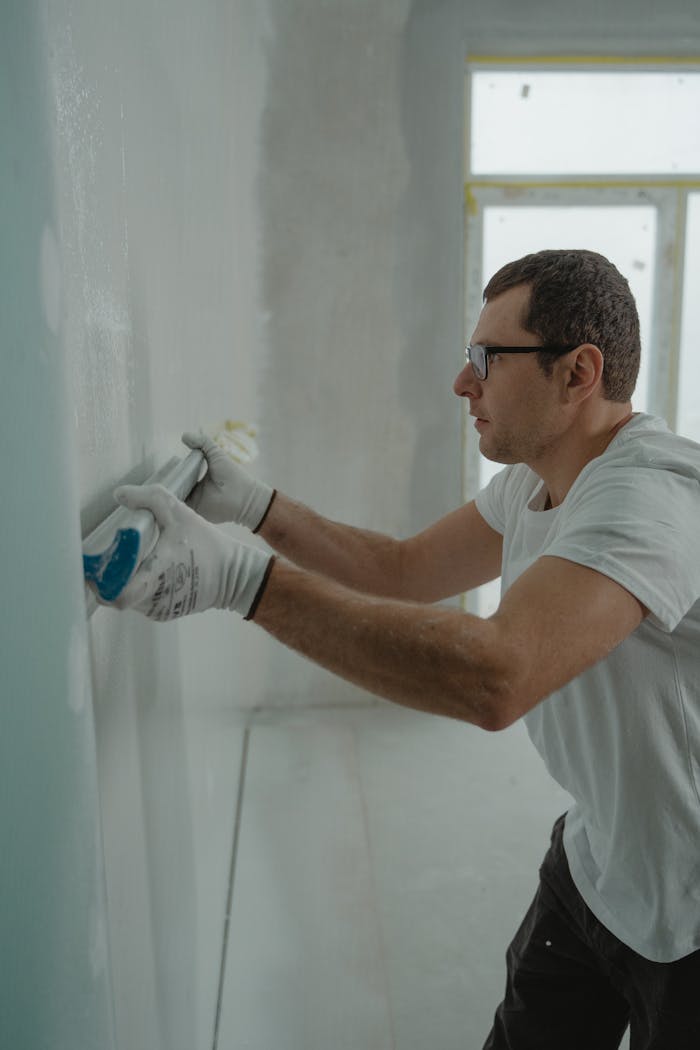
Step 3: Apply Joint Compound
Using a 6-inch knife, spread a thin layer of joint compound over the patch. Extend slightly beyond the patch edges. Let it dry completely.
Step 4: Build Layers
Apply 2–3 additional thin coats, each time using a wider knife (10–12 inches) to feather the edges. This is critical for blending the repair into the wall.
Step 5: Sand Smooth
Once dry, sand the area lightly using 120–220 grit sandpaper until smooth. Avoid over-sanding, which can expose the patch.
Step 6: Prime and Paint
Apply primer to seal the repair. Then paint the area to match the surrounding wall. In many cases, blending into the existing paint may require feathering the paint outward.
Common Mistakes to Avoid
- Applying thick layers instead of multiple thin coats
- Skipping sanding between coats
- Not feathering edges wide enough
- Painting without primer
DIY vs Professional Repair
Small holes can be repaired in a few hours of active work (spread over a day due to drying time). Larger or visible wall areas may require a professional finish for seamless blending.
For general material references and repair basics, you can review guides from
Wikipedia or product instructions from Home Depot.
Final Result
When done correctly, the repaired area should be flush with the wall, smooth to the touch, and invisible after painting. Taking time on layering and sanding is what separates an obvious patch from a professional-looking repair.