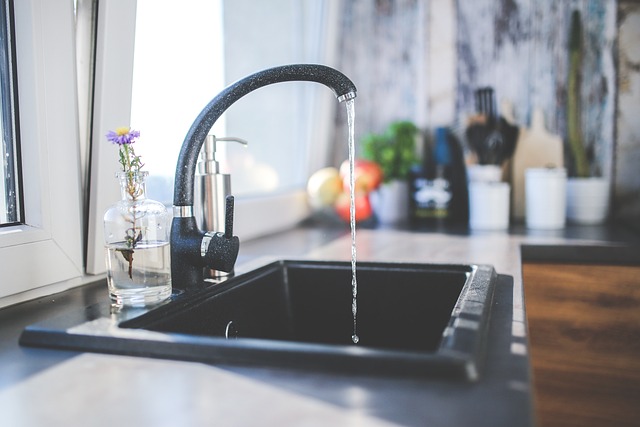
What to Do If Your Sink Is Leaking Under the Cabinet: Step-by-Step Fix for Homeowners (2026)ц
A leak under the kitchen or bathroom sink is one of the most common and stressful problems homeowners face. It often appears suddenly, creates water damage risk, and can quickly escalate if ignored. The good news is that many under-sink leaks can be identified and fixed without specialized tools if you follow a structured approach.
This guide walks through how to diagnose the source of the leak, stop it safely, and perform a reliable repair.
Common Causes of Sink Leaks
- Loose or worn P-trap connections
- Damaged or misaligned washers
- Cracked PVC pipes
- Leaking supply lines (hot or cold water)
- Faulty shut-off valves
- Corrosion in older metal plumbing
Step 1: Stop the Water Immediately
Before doing anything else, locate the shut-off valves under the sink and turn them clockwise to stop the water flow. If the valves are stuck or leaking themselves, you may need to shut off water at the main supply.
Place a bucket or towel under the leak area to catch any remaining water.
Step 2: Identify the Source of the Leak
Dry all visible pipes and connections using a cloth. Then slowly turn the water back on and observe carefully.
Check these areas:
- Connections between pipes (especially the P-trap)
- Flexible supply lines
- Shut-off valves
- The sink drain connection above
Water typically travels, so the visible drip may not be the actual source. Always trace upward.
Step 3: Fix Loose Connections
If the leak is coming from a joint, try tightening it by hand first. Most plastic plumbing fittings do not require tools and can crack if overtightened.
For metal fittings, use an adjustable wrench but apply controlled pressure.
Step 4: Replace Worn Washers or Gaskets
If tightening does not stop the leak, disconnect the joint and inspect the washer inside. Over time, washers degrade, flatten, or crack, leading to leaks.
Replace with a matching size washer and reassemble the connection securely.
Step 5: Repair or Replace the P-Trap
The P-trap is a curved pipe under the sink that holds water to block sewer gases. It is also one of the most frequent leak points.
If the P-trap is cracked or worn:
- Remove it by unscrewing both ends
- Take it to a store like Home Depot or Lowe’s
- Buy an identical replacement
- Install and hand-tighten connections
Step 6: Check Supply Lines
If the leak comes from the flexible water supply lines, inspect for bulging, rust, or cracks. These lines should be replaced rather than repaired.
Turn off water, disconnect the old line, and install a new braided stainless steel supply line.
Step 7: Test the System
After completing repairs, turn the water back on slowly and monitor all connections for several minutes. Run both hot and cold water to ensure there are no hidden leaks.
Temporary Fixes (If You Can’t Repair Immediately)
- Wrap leaking threads with plumber’s tape
- Use a temporary pipe repair clamp
- Place a container under the leak to prevent cabinet damage
These are short-term solutions only and should not replace a proper repair.
When to Call a Professional
You should consider professional help if:
- The leak is inside the wall
- Multiple connections are failing
- There is visible mold or structural damage
- Shut-off valves are not working
How to Prevent Future Leaks
- Inspect under-sink plumbing every few months
- Avoid over-tightening plastic fittings
- Replace old supply lines proactively
- Keep the area dry and clean to detect early leaks
Understanding how basic plumbing works can help you diagnose issues faster. For a general overview, you can review plumbing system basics on
Wikipedia.
Final Result
A properly fixed sink leak should result in completely dry connections with no dripping or moisture after extended use. Addressing leaks early prevents cabinet damage, mold growth, and expensive repairs later.